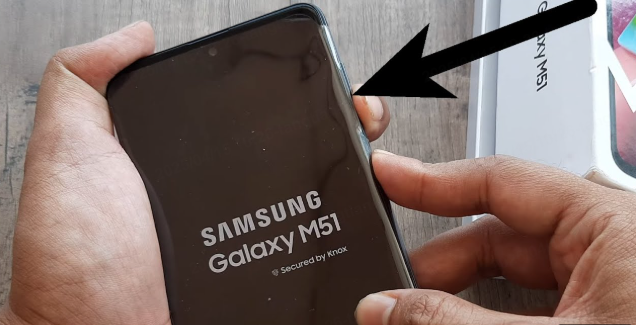
Fixing a Samsung phone screen can be a daunting task, especially for those who are not familiar with DIY repairs. However, with the right tools and a bit of patience, it’s entirely possible to replace your phone’s screen at home. This guide will walk you through the process of fixing a Samsung phone screen, covering various models and providing tips for a successful repair.
Table of Contents
Choosing the Right Tools and Parts
Before you begin, it’s crucial to gather all the necessary tools and parts. For most Samsung models, you’ll need a set of basic tools such as a Phillips screwdriver, a plastic pry tool, a suction cup, and a heat gun or hair dryer. The heat gun or hair dryer is used to loosen the adhesive holding the screen in place, making it easier to remove.
For the replacement screen, ensure that it is compatible with your Samsung model. Genuine Samsung parts are recommended for optimal performance and compatibility. You can find these parts at electronics stores or online marketplaces.
Preparing Your Workspace
Setting up a safe and organized workspace is essential for a successful repair. Here are a few tips to consider:
- Clean Workspace: Ensure your workspace is clean and free from dust or debris that could interfere with your repair.
- Anti-Static Measures: Use an anti-static wrist strap or mat to prevent damage to your phone’s internal components.
- Good Lighting: Work in a well-lit area to see the small components clearly.
Disassembling Your Phone
Disassembling your phone requires care to avoid damaging internal components. Here’s a general overview of the steps involved:
- Power Off Your Phone: Ensure your phone is completely powered off before starting the repair.
- Remove the SIM Card and SD Card: Take out the SIM card and SD card to prevent any accidental damage.
- Apply Heat: Use a heat gun or hair dryer to warm the edges of the screen. This loosens the adhesive, making it easier to remove the screen.
- Use a Suction Cup: Attach a suction cup to the screen and gently lift it to create a gap between the screen and the frame.
- Insert a Plastic Pry Tool: Carefully insert a plastic pry tool into the gap and slide it around the edges to separate the screen from the frame.
Removing the Old Screen
Once you’ve created enough space, you can remove the old screen. Here are the steps to follow:
- Disconnect Ribbon Cables: Gently lift the screen and disconnect the ribbon cables connecting it to the motherboard.
- Remove Adhesive: If there’s any remaining adhesive, use a plastic card or similar tool to carefully remove it without damaging the frame.
Installing the New Screen
Installing the new screen requires precision to ensure it’s properly aligned and secured:
- Align the New Screen: Place the new screen over the frame, ensuring it’s centered and aligned with the edges.
- Connect Ribbon Cables: Reconnect the ribbon cables to the motherboard, making sure they are securely attached.
- Apply Adhesive: If your new screen comes with adhesive, apply it according to the manufacturer’s instructions. Otherwise, you can use custom-cut double-sided tape to secure the screen.
Reassembling Your Phone
Reassembling your phone involves reversing the steps you took to disassemble it. Here are some key points to remember:
- Reattach Any Removed Components: Ensure all screws and components are securely reattached.
- Reinsert SIM and SD Cards: Put back the SIM card and SD card.
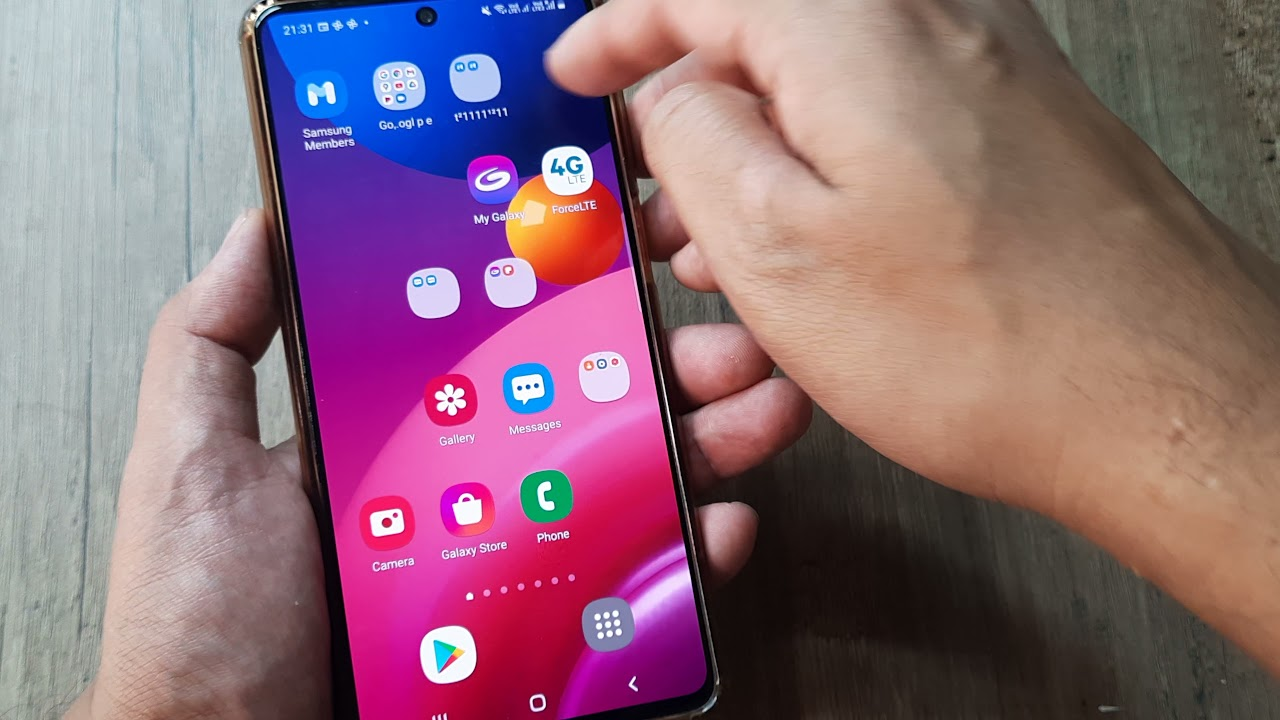
- Power On and Test: Turn on your phone and test the new screen for responsiveness and display quality.
Tips for a Successful Repair
- Use Genuine Parts: Ensure the replacement screen is compatible and genuine for optimal performance.
- Follow Instructions Carefully: Pay close attention to each step to avoid damaging internal components.
- Practice Patience: Take your time, especially when handling fragile components like the screen and ribbon cables.
Common Challenges and Solutions
During the repair process, you might encounter a few challenges. Here are some common issues and how to address them:
- Stuck Adhesive: If the adhesive is particularly stubborn, apply more heat or use a solvent like isopropyl alcohol to help loosen it.
- Damaged Ribbon Cables: If you accidentally damage a ribbon cable, you may need to replace it. Ensure you purchase a compatible replacement.

Conclusion
Fixing a Samsung phone screen can be a rewarding DIY project if done correctly. By following these steps and tips, you can save money on professional repairs and extend the life of your device. Remember to always use genuine parts and take your time during the process to ensure a successful repair.
How to purchase:https://looperbuy.com/search?keywords=fix+samsung+phone+screen
Frequently Asked Questions
What tools do I need to replace a Samsung phone screen?
You will need a Phillips screwdriver, a plastic pry tool, a suction cup, and a heat gun or hair dryer.
How do I ensure the new screen is compatible with my Samsung model?
Check the specifications of the replacement screen to ensure it matches your Samsung model’s screen specifications.
What if I damage the ribbon cables during the repair?
If you damage a ribbon cable, you will need to replace it with a compatible one. Be careful when handling these cables to avoid damage.
Can I use a hair dryer instead of a heat gun?
Yes, a hair dryer can be used as an alternative to a heat gun. It may take a bit longer to warm the adhesive.
How do I test the new screen after installation?
Turn on your phone and test the screen for responsiveness and display quality. Ensure all features, such as touch input and brightness, are working correctly.