Table of Contents
What is an Electric Fan Relay Kit?
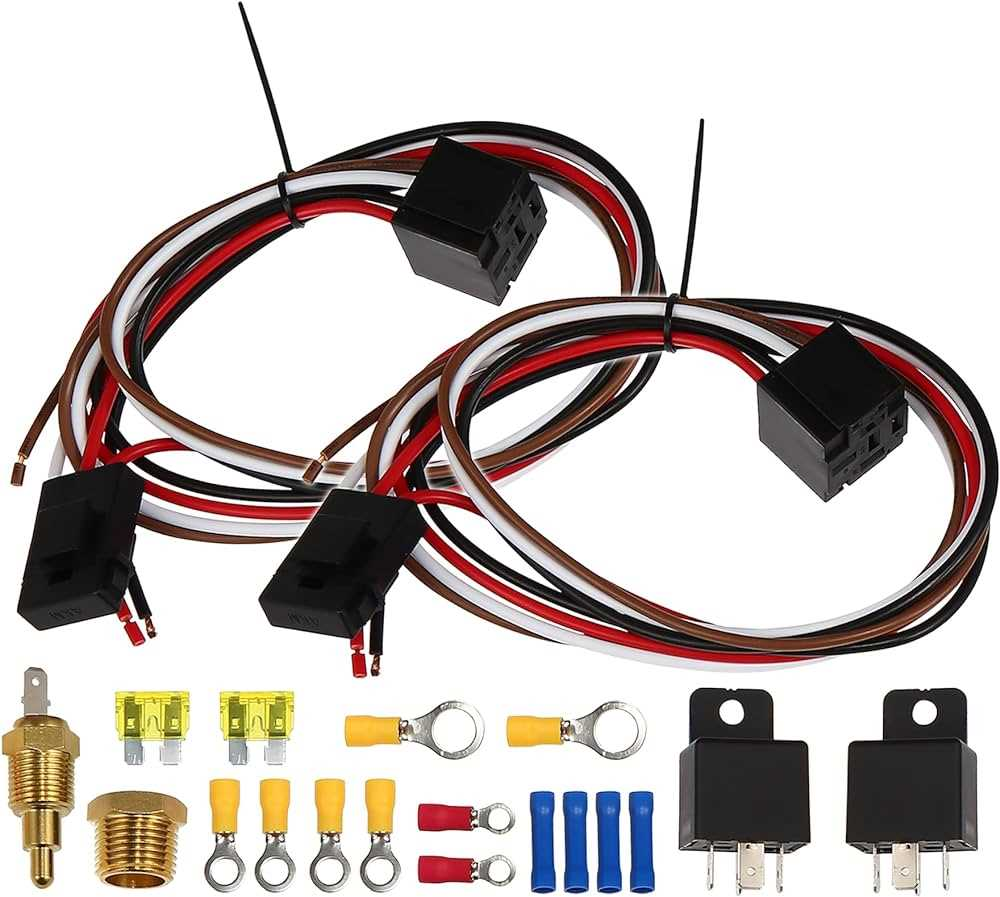
An electric fan relay kit is a set of components designed to control the operation of electric cooling fans in vehicles. It typically includes a relay, wiring harness, and connectors. The relay acts as a switch that allows the fan to operate based on the engine temperature, improving cooling efficiency and preventing overheating. By using a relay, the fan can be activated at the right moment, ensuring that the engine remains within its optimal temperature range. This is particularly important in high-performance vehicles or those used in demanding conditions, where overheating can lead to severe engine damage.
Why Use an Electric Fan Relay Kit?
Using an electric fan relay kit offers several benefits:
– Improved Cooling Efficiency: The relay ensures that the fan operates only when needed, optimizing engine temperature. This not only helps in maintaining performance but also contributes to fuel efficiency, as the engine does not have to work harder to cool itself.
– Extended Fan Life: By controlling the fan’s operation, the relay reduces wear and tear, extending the fan’s lifespan. This means fewer replacements and repairs, saving you money in the long run.
– Reduced Electrical Load: The relay minimizes the load on the vehicle’s electrical system, preventing potential damage to other components. This is especially beneficial in older vehicles where the electrical system may not be as robust, helping to avoid issues like blown fuses or damaged wiring.
Tools and Materials Needed
Before starting the installation, gather the following tools and materials:
– Screwdriver set: A variety of screwdrivers will help you with different types of screws you may encounter.
– Wire strippers: Essential for preparing wires for connections, ensuring a clean and secure fit.
– Electrical tape: Used to insulate connections and prevent short circuits.
– Heat shrink tubing: Provides a more durable and weather-resistant seal over electrical connections.
– Multimeter: A vital tool for testing electrical connections and ensuring everything is functioning correctly.
– Electric fan relay kit: Ensure you have a quality kit that includes all necessary components.
– Wiring harness (if not included in the kit): Some kits may require additional wiring, so having a compatible harness is important.
– Zip ties: Useful for organizing and securing wires to prevent them from moving around or getting damaged.
Step-by-Step Installation Process
Preparation
1. Read the Instructions: Before beginning, carefully read the instructions provided with your electric fan relay kit. Familiarize yourself with the components and their functions. Understanding the layout and purpose of each part will make the installation process smoother and help you troubleshoot any issues that may arise.
2. Gather Tools: Ensure you have all the necessary tools and materials ready for the installation. Having everything at hand will save you time and prevent interruptions during the installation process.
Disconnecting the Battery
1. Safety First: Disconnect the negative terminal of the battery to prevent any electrical shorts during installation. This is a critical step to ensure your safety and the integrity of the vehicle’s electrical system.
2. Secure the Battery Terminal: Ensure the terminal is secured away from the battery to avoid accidental reconnection. You can use a cloth or rubber band to keep it from touching the battery terminal while you work.
Mounting the Relay
1. Choose a Location: Select a suitable location for mounting the relay. It should be close to the fan and away from heat sources. A good location will ensure that the relay operates efficiently and is protected from excessive heat that could damage it.
2. Secure the Relay: Use screws or zip ties to secure the relay in place. Ensure it is mounted firmly to prevent movement. A stable installation will help maintain the integrity of the connections and prevent wear over time.
Wiring the Relay
1. Identify Wires: Refer to the wiring diagram provided with your kit. Identify the wires for the power source, ground, and fan. Understanding the wiring layout is crucial for a successful installation.
2. Connect Power Wire: Connect the power wire from the relay to a switched power source, such as the ignition switch. This ensures the fan operates only when the engine is running, preventing unnecessary battery drain.
3. Connect Ground Wire: Attach the ground wire to a clean, unpainted metal surface on the vehicle to ensure a good ground connection. A solid ground is essential for the relay to function properly.
4. Connect Signal Wire: Connect the signal wire from the relay to the temperature sensor or switch that activates the fan. This connection is what allows the relay to respond to engine temperature changes.
Connecting the Fan
1. Attach Fan Wires: Connect the fan wires to the relay according to the wiring diagram. Ensure the connections are secure and insulated with electrical tape or heat shrink tubing. Proper insulation is vital to prevent short circuits and ensure long-term reliability.
2. Mount the Fan: If not already done, mount the electric fan to the radiator or the designated location in your vehicle. Ensure it is securely fastened to prevent vibrations that could lead to damage.
Testing the Installation
1. Reconnect the Battery: Reconnect the negative terminal of the battery. This is the final step before testing the installation.
2. Start the Engine: Start the engine and allow it to reach operating temperature. Monitor the engine’s temperature gauge to ensure it is functioning normally.
3. Check Fan Operation: Monitor the fan to ensure it activates when the engine reaches the specified temperature. If it does not operate, recheck your wiring connections. This step is crucial to confirm that your installation was successful and that the fan is functioning as intended.

Common Issues and Troubleshooting
– Fan Does Not Turn On: Check the wiring connections and ensure the relay is functioning. Use a multimeter to test for power at the relay. If there is no power, trace the wiring back to the power source to identify any breaks or loose connections.
– Fan Runs Continuously: This may indicate a faulty temperature sensor or incorrect wiring. Verify the connections and sensor operation. If the sensor is malfunctioning, it may need to be replaced to restore proper function.
– Intermittent Operation: Loose connections or a failing relay can cause intermittent fan operation. Inspect all connections and replace the relay if necessary. Ensuring all connections are tight and secure will help prevent this issue.
Conclusion
Installing an electric fan relay kit is a straightforward process that can significantly enhance your vehicle’s cooling system. By following this step-by-step guide, you can ensure a successful installation, leading to improved engine performance and longevity. Not only will this installation help prevent overheating, but it will also contribute to the overall efficiency of your vehicle, making it a worthwhile investment for any car owner.
How to purchase:https://looperbuy.com/search?keywords=electric+fan+relay+kit
FAQs
1. What is the purpose of an electric fan relay kit?
– An electric fan relay kit controls the operation of electric cooling fans, ensuring they run only when needed to maintain optimal engine temperature.
2. Can I install an electric fan relay kit myself?
– Yes, with basic tools and following the instructions, most individuals can install an electric fan relay kit themselves. It’s a manageable project for those with some mechanical knowledge.
3. What tools do I need for installation?
– You will need a screwdriver set, wire strippers, electrical tape, heat shrink tubing, a multimeter, and the electric fan relay kit.
4. How do I know if my fan relay is working?
– You can test the relay with a multimeter to check for continuity and ensure it activates when the engine reaches the specified temperature.
5. What should I do if my fan does not turn on after installation?
– Check all wiring connections, ensure the relay is functioning, and verify that the temperature sensor is working correctly. If necessary, consult a professional for further assistance.