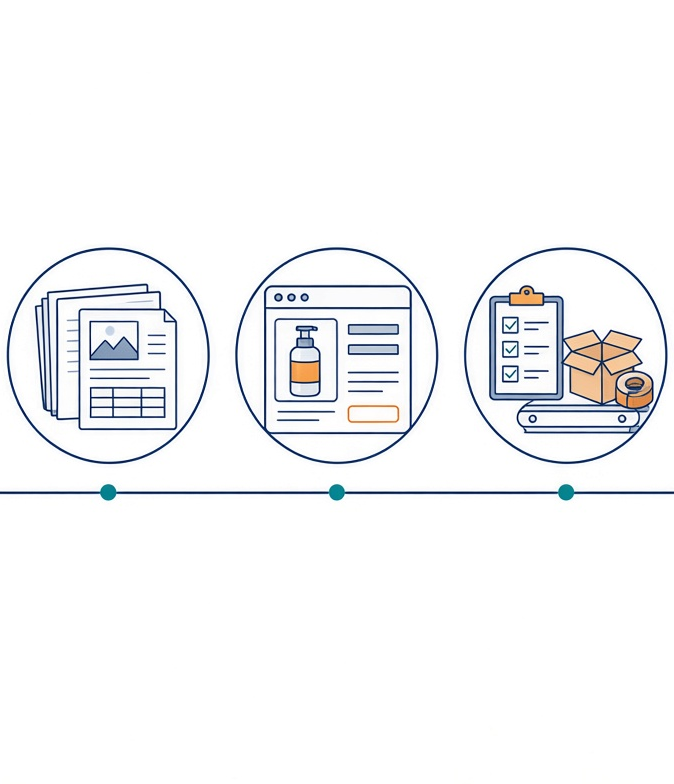
Learn how to add products to your Shopify store with clear manual setup steps, safe CSV imports, accurate variant mapping, and practical dropshipping checks. Explore pricing, China sourcing, delivery expectations, and a prelaunch checklist to build a catalog your business can confidently fulfill.
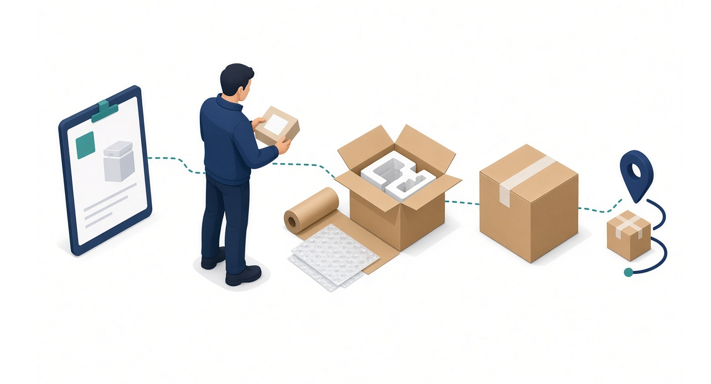
Learning how to add products to your Shopify store involves more than uploading photos and setting prices. For merchants sourcing from China, every listing should connect accurate product information with dependable fulfillment. This guide explains manual product setup, Shopify CSV imports, and the checks that help prevent pricing mistakes, mismatched variants, and unrealistic delivery promises.
My recommended approach is simple: prepare the supplier information first, build one complete listing, and test the buying journey before expanding your catalog. A smaller, verified assortment is a better starting point than hundreds of listings you cannot confidently fulfill.
Table of Contents
Choose the Right Way to Add Products to Shopify
Shopify supports manual product creation and CSV imports. Supplier apps may offer another route, but their capabilities depend on the particular integration.
| Method | Best use | Main check |
| Manual entry | Small catalogs and initial launches | Verify every field before publishing |
| CSV import | Bulk additions and structured updates | Validate handles, variants, and image URLs |
| Supplier integration | Repeatable supplier-connected workflows | Confirm inventory, ordering, and tracking functions |
I would begin manually with a representative product, including its variants. That listing becomes your reference for subsequent imports. Use automation to repeat verified information, not to accelerate unresolved supplier questions.
Prepare Supplier Data Before Creating a Shopify Product Listing
Build a product information sheet before opening the product editor. Ask your supplier or sourcing partner for:
– Product materials, dimensions, and intended use.
– Available colors, sizes, and corresponding supplier identifiers.
– Item price, packaging charges, and destination-specific shipping quotes.
– Current availability and the date it was checked.
– Processing time, shipping origin, and available delivery services.
– Original photos, image permissions, and relevant compliance documents.
– Procedures for defects, incorrect items, cancellations, and returns.
Keep supporting evidence alongside the sheet. A supplier message saying “premium quality” is not a measurable specification. Request the material grade, actual measurements, or other relevant evidence instead.
For regulated products, obtain appropriate specialist advice before listing. A basic warehouse inspection should not be presented as proof that an item satisfies every destination-market requirement.
How to Add Products to Your Shopify Store Manually
1. Create a Product and Keep It in Draft
From Shopify admin, open Products, select Add product, enter the product details, and save. Shopify also lets you preview the listing and control its sales-channel availability. Keep unfinished listings unpublished while you verify them.
Draft-first preparation gives you a clear review stage. Treat publication as approval to sell, not merely confirmation that a form has been completed.
2. Write a Specific Product Title and Useful Description
Use a title that tells shoppers what they are buying. “Adjustable Aluminum Laptop Stand” communicates more than “Premium Desk Accessory.” Include distinguishing attributes only when they are accurate and useful.
Organize the description around purchase decisions:
1. What the product does and who it suits.
2. Materials, dimensions, and verified specifications.
3. Compatibility or size limitations.
4. Package contents and assembly requirements.
5. Care instructions and relevant warnings.
Avoid unsupported claims such as “certified,” “medical-grade,” or “universally compatible.” If drafting with AI, verify every specification against supplier documents and the actual sample. Fluent wording is not evidence of accuracy.
3. Add Product Photos That Answer Buyer Questions
Prepare a main product image, alternate angles, detail shots, and a scale reference. Show the exact color or configuration associated with each variant.
Write concise image descriptions for accessibility. Shopify provides an Image alt text field, which helps assistive technology describe product images.
For sourced products, request sample photography or inspection photos when available. Use generated visuals for explanatory illustrations, not as evidence of actual product appearance, packaging, or performance. Customers should never discover that an attractive listing image depicted a feature their order does not include.
4. Set Prices Using the Full Order Economics
Shopify provides price, compare-at price, and cost-per-item fields. The compare-at price represents an original price when displaying a reduction; it should not be an invented reference number.
Calculate the economics outside the product editor before deciding your selling price. Include supplier cost, fulfillment charges, shipping, payment fees, and an allowance for returns. Keep customer taxes separate from revenue when appropriate to your accounting treatment.
Do not switch tax collection on or off simply to make a price look attractive. The correct treatment depends on applicable obligations and your store configuration, not personal preference.
5. Map Variants and Inventory Carefully
If an item comes in different colors or sizes, add variants rather than creating duplicate product pages for those options. Shopify specifically recommends variants for options on an existing product.
Give each sellable combination a distinct SKU and maintain a supplier-to-store mapping sheet. For example, a black medium shirt and a black large shirt should not share an internal identifier.
Confirm who updates inventory and how frequently. Supplier availability is not automatically the same as stock reserved for your business. Do not enter a large quantity merely to avoid an “out of stock” message.
Shopify supports continuing sales after inventory reaches zero, but enabling that setting permits purchases despite insufficient recorded stock. Use it only when your fulfillment arrangement can support those orders.
6. Add Shipping Details and Organize the Catalog
Enter accurate product weight and verify the fulfillment assignment. Shopify advises accurate weights when using carrier-calculated shipping or third-party fulfillment services.
Choose the closest standardized product category, then organize customer-facing collections around useful shopping needs. A category identifies the product type; a collection can group items by a theme such as “Desk Accessories.” Tags can support store search and condition-based collections.
Also review the page title, description, and URL handle in the Search engine listing section. Use clear product language, and avoid changing an established handle unnecessarily.
7. Preview, Select Sales Channels, and Publish
Use Preview to inspect the storefront presentation. Check the mobile layout, variant images, specifications, and visible purchase information. Then confirm availability in the intended sales channels and save your changes.
A product record is not a complete launch. Verify that shoppers can find it through your navigation and that its selected configuration reaches the cart correctly.
How to Import Products to Shopify With a CSV File
CSV imports are useful when adding many products or updating structured catalog data. Start with Shopify’s current sample file or an export from your own store, rather than an unrelated supplier spreadsheet.
Follow a Controlled Import Workflow
1. Export a backup before updating existing products.
2. Match supplier data to Shopify’s current column headers.
3. Check titles, URL handles, option names, prices, and SKUs.
4. Ensure image URLs are publicly accessible.
5. Save the file in the supported CSV format.
6. Open Products, select Import, and upload the file.
7. Review the import details before confirming.
8. Inspect the imported listings before making them available.
Set the intended draft and publication values explicitly. Shopify’s CSV documentation lists active as the default status when the Status column is absent; do not assume imported items will remain unpublished.
Understand the Three Biggest CSV Risks
First, selecting Overwrite products with matching handles replaces matching fields. An included blank field can erase an existing value, whereas omitting a non-required column generally preserves it.
Second, variant information has dependencies. Missing option columns can remove existing variants, and changing option values can create new variant IDs that disrupt third-party connections.
Third, product CSV inventory quantities apply to single-location stores. For multiple locations, Shopify directs merchants to the inventory CSV instead.
My recommendation is to test a small batch containing both simple products and variants. A clean import preview is useful, but storefront and fulfillment checks still matter.
Calculate Dropshipping Margins Before Expanding Your Catalog
The following hypothetical example illustrates why supplier price alone is insufficient. It is a planning scenario, not a Looperbuy quote or reported customer result.
| Per-order item | Illustrative amount |
| Selling price, excluding customer taxes | $29.00 |
| Supplier product cost | $8.00 |
| Shipping and fulfillment | $6.50 |
| Payment-related fees | $1.20 |
| Returns and support allowance | $1.30 |
| Contribution before advertising and overhead | $12.00 |
If acquiring the customer costs $8.00, the remaining contribution is $4.00 before overhead. A shipping increase of $2.00 would halve that remaining amount.
Compare quotes for the same destination, package, and service level. Recalculate when product costs, shipping rates, or selling prices change. This discipline helps you decide which products deserve promotion and which require renegotiation.
Make China-to-Customer Delivery Promises You Can Support
A useful delivery estimate accounts for both order processing and transportation. Ask your fulfillment partner what happens during supplier delays, stock shortages, customs checks, and failed delivery attempts.
For international orders, duties and import taxes depend on product classification, origin, and destination rules. Shopify recommends appropriate HS codes and country-of-origin information for calculating these charges.
Distinguish shipping origin from country of manufacture. Also confirm whether the delivery arrangement is delivered duty paid, or whether the customer may face charges on arrival. Shopify’s checkout collection setup requires compatible arrangements, including carrier support for delivered duty paid.
Place relevant delivery and charge information near the buying decision. Avoid promising duty-free delivery or a universal transit time without route-specific confirmation.
Run a Prelaunch Fulfillment Test
Before scaling, place a controlled test order through your established fulfillment workflow. Record what happens rather than assuming the integration handles everything.
Check:
– The correct SKU, color, and size reach the fulfillment partner.
– Order processing follows the agreed timetable.
– Packaging and product condition match your expectations.
– Tracking becomes available through the intended workflow.
– Customer-facing notifications reflect actual order status.
– Support can explain how a defective or incorrect item would be resolved.
Repeat this review when changing suppliers or delivery routes. A test cannot guarantee every future shipment, but it can reveal mismatches before paying customers encounter them.
Build a More Manageable Sourcing Workflow With Looperbuy
Looperbuy describes services covering China sourcing, warehousing, order consolidation, and cross-border shipping. Its website also lists Shopify among its integrated partners. Confirm the current connection process and supported functions before assuming automatic product, inventory, order, or tracking synchronization.
Inspection scope also deserves clarification. Looperbuy’s website describes basic warehouse checks and optional inspection services; request written confirmation of what your chosen service includes. Refund handling depends on supplier policies and order status.
Start with a focused product shortlist rather than a large unverified catalog. Contact Looperbuy through its website with your product links, target countries, expected order volume, and packaging requirements. Request a sourcing and shipping quote, clarify inspection and return terms, and test fulfillment before launching broadly.
Frequently Asked Questions
1. Can I add products to Shopify without an app?
Yes. Create products manually through Products > Add product, or use Shopify’s CSV import workflow. An app is not required for these methods.
2. What is the best way to add many products to Shopify?
CSV importing suits structured bulk additions. Validate a small batch first, especially when your catalog contains variants or existing products that might be overwritten.
3. Why is my Shopify product not appearing in my store?
Check its status and online-store publication settings. Shopify lets you exclude products from individual sales channels, so saving a product does not alone establish visibility everywhere.
4. Does importing products automatically synchronize supplier inventory?
A CSV import is a data-transfer operation, not evidence of an ongoing supplier connection. Confirm inventory-update capabilities separately with your supplier or integration provider.
5. Should I create separate products for every size and color?
For options on the same product, use variants. Assign distinct identifiers to the sellable combinations so that orders can be mapped accurately.
6. Can I use Looperbuy for China sourcing and dropshipping?
Looperbuy advertises these services. Ask for the current Shopify workflow, eligible products, destination coverage, charges, inspection scope, and after-sales terms before committing to a launch.
Referencs
1. Doba. “How To Add Products To Your Shopify Store.” [doba]
2. Shopify Help Center. “Adding and updating products.” [help.shopify]
3. Shopify Help Center. “Importing products with a CSV file.” [help.shopify]
4. Shopify Help Center. “Using CSV files to import and export products.” [help.shopify]
5. Shopify Help Center. “Duties and import taxes.” [help.shopify]
6. Shopify Help Center. “Collecting international duties and import taxes at checkout.”[help.shopify]
7. Looperbuy. “B2B China Goods Sourcing E-Platform.” [looperbuy]